Some quick tips on getting your email signature up and running can be found below. If you haven’t already generated your custom code, please fill out the form on this page.
Outlook
Outlook HTML signature installation is a little tricky, but don’t worry! This guide will walk you through the process it step-by-step. Note: These instructions are for Outlook 2010 specifically, but should work for other versions as well.
Step 1: Configure Outlook
A. Create a new Signature
- File > Options > Mail > Signatures > New

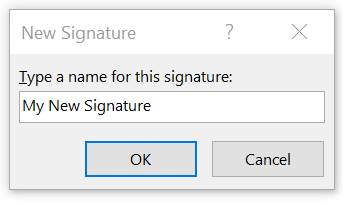
B. Enter a Signature Name
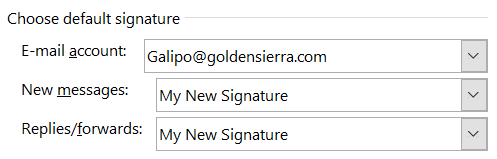
C. Assign Your Default Signature
D. Close Open Windows (Click OK > Click OK again)
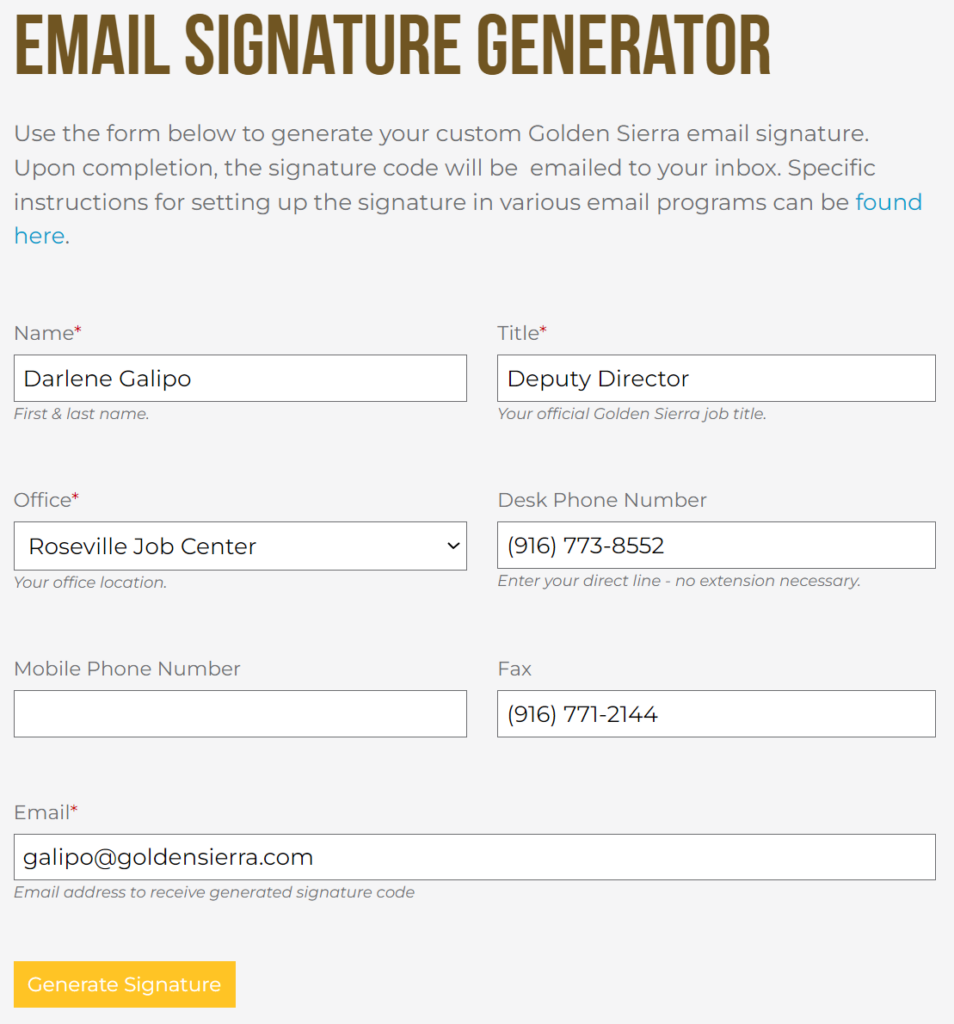
Step 2: Generate Email Signature Code
Visit our Email Signature Generator > Complete Form > Generate Signature
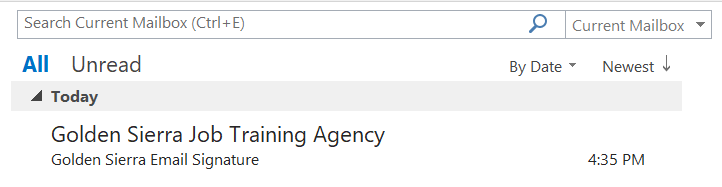
Step 3: Configure Signature Code
A. Open your inbox and locate the message from Golden Sierra
B. Highlight the code and press Ctrl + C on the keyboard
C. Navigate to the Signatures folder in Windows Explorer
- Type or paste
%appdata%\Roaming\Microsoft\Signaturesinto the navigation bar then press Enter key.
D. Locate the HTML document (the one with the name you used in Step 1)
- Right click on the file and select Open With > Notepad (a new window will open)
E. Replace the HTML contents
- Delete the existing HTML code from this file (yes, all of it)
- Press Ctrl + V to paste your new code into this file
- Select File > Save
- When done, close the window
Apple Mail
Apple Mail has a pretty complicated process of installing your signature. Don’t worry though! We will walk you through it step-by-step. You will be using the HTML file we provided to you for this process. Note: These instructions are for Apple Mail on 10.9.X but all versions are similar.
- Add a Placeholder Signature
In Mail.app, go to Preferences > Signatures and create a signature with any random content. Name it something meaningful. You will be swapping this out later. Drag the temporary signature to the email account on the left where you will likely use it. Now quit Mail.app. - Open the Signatures Folder
This process differs if you are using iCloud. First open the following folder:
Using iCloud:
~/Library/Mobile Documents/com~apple~mail/Data/MailData/Signatures/
Not Using iCloud:
~/Library/Mail/V2/MailData/Signatures/
Open the folder to show your email signatures in Finder. If you are having trouble opening the ~/Library folder, try holding down the Option key and clicking the “Go” menu in Finder. Check here for more tips if you are still having trouble opening the ~/Library folder. Drill down through the appropriate folders as shown above. - Find the Placeholder
When you created a temporary placeholder signature in step 1, Mail automatically created a .mailsignature file that represents it in this folder. Locate the .mailsignature file in the ~/Library folder. It will have a random name. If you are using iCloud, it will start with ubiquitous. If you need help, you can open the file in Safari and view the contents to make sure it is the right one. - Open the Placeholder File
When you have located the placeholder .mailsignature file, open it with your html editor. I use TextMate, but you will probably find it easiest to use TextEdit. If you are using TextEdit, make sure you have the “Display HTML files as HTML code…” option set in TextEdit preferences menu. Once open, you will see a few metadata lines on the top of the file and some html code below it. - Replace the HTML Contents
Keep the top metadata lines, but replace the HTML in the file with the contents of the HTML file we have provided for you. Save the file when you are done. - Lock the Mail Signature File
THIS STEP IS ONLY NECESSARY IF YOU ARE NOT USING ICLOUD. IF YOU ARE USING ICLOUD, PLEASE SKIP THIS STEP. Even though you save this file, Mail.app will use the original version and overwrite your new signature unless you lock the file. With your text editor now closed and the file saved, find it again in Finder and press command-i to bring up the info pane for the file. On this info pane, mark the “Locked” checkbox. - Restart Mail
Restart Mail.app and go to Preferences > Signatures. If you have images in your signature, they will not show here in the preview, but they will show in the real signature if the location is valid.